Hiking Volcán Barú in Boquete: The Complete Practical Guide
Hiking Volcán Barú requires serious physical conditioning (4+ weeks training with stair climbers and cardio), takes 14-15 hours total (12 hours climbing, 2-3 hours descending), starts at midnight for sunrise summit views, and costs $10-15 for shuttle transportation from Boquete hotels, no formal permits needed, just ID check at trailhead. Two routes available: Boquete side (4x4 road, longer but easier, no guide required) and Paso Ancho side (shorter, steeper, scenic, guide practically essential), pack light with 1-2L water, headlamp (essential for pitch-black pre-dawn start), power bank, lightweight layers, and high-calorie snacks in small daypack.
I've been getting a lot of questions about hiking Volcán Barú lately, so I wanted to share my honest, practical advice based on my own experiences and conversations with many hikers here in Boquete. This isn't a romantic guide, it's the real deal, with the practical information you need to succeed.
The Basics: Two Routes, Two Different Experiences
There are two main ways to hike Volcán Barú from our area:
- Boquete Side (4x4 Road): Longer but easier, approximately 12 hours round trip. This is the road most people take. Registration required, but no guide needed if you're experienced.
- Paso Ancho Side (Volcán): Shorter and steeper, more scenic views, but considerably more difficult. A guide is practically essential because the trail can be confusing at the bottom. You can get lost if you're not careful.
Do You Need Reservations?
Here's the straightforward answer: You need to make reservations only for transportation. When we went, we booked a shuttle pickup at midnight through our hotel (Hotel Valle del Rio charged us $10 for the shuttle). The authorities at the trailhead simply check your ID to make a record of your visit—no formal permit system. Easy.
The Reality: What My Friend's Experience Taught Me
I took a friend with me on my first hike, and let me be completely honest: it humbled him. Here's what happened:
- Duration: It took us 12 hours to climb up. We brought 30-pound backpacks with 3 liters of water, food, and extra clothes.
- The Problem: My friend underestimated the difficulty. He wasn't in good shape, and he struggled the entire way. He was gasping for air from the 9th hour onwards.
- Physical Demands: The hike is VERY steep. You need serious leg strength and cardio. It's not just about being able to walk—you need to be able to climb continuously for hours.
- The Lesson: If you're not conditioned, this hike will destroy you. Period.
How to Prepare Physically
Don't underestimate the conditioning required. Here's what actually works:
- Stair Climbers: Hit the gym and use stair climbers. This is your best friend.
- Stair Running: Run up stairs repeatedly. Build explosiveness in your legs.
- Jump Squats on Stairs: These will build serious leg power fast.
- Cardio: Your lungs need to be strong. The altitude and continuous climbing demand it.
- Duration: Start training at least a month before if you're out of shape. Two weeks minimum if you have some fitness baseline.
Think about it this way: If you can't run up multiple flights of stairs without getting winded, you're not ready for this hike.
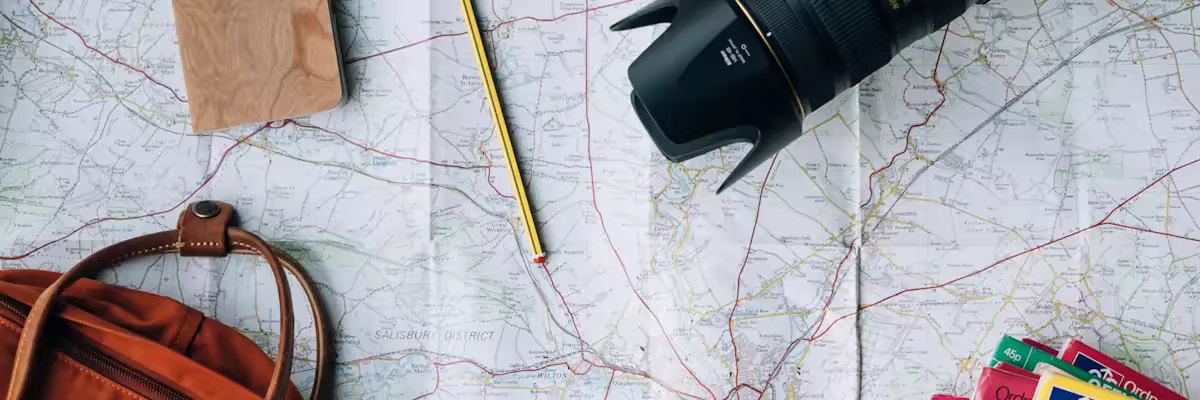
What to Bring: Pack Smart
We made mistakes with our packing. Learn from us:
- Backpack: Bring a SMALL one. We carried 30 pounds and deeply regretted it. Next time, I'm bringing only a small daypack.
- Water: 1-2 liters maximum. We brought 3 and it was overkill for most people.
- Clothes: Don't overdress. We followed internet advice about it being "very cold at the top" and brought too much. It wasn't that cold—it was actually warm. Bring layers you can remove.
- Headlamp: Absolutely essential. You start at midnight and it's pitch black. A good headlamp is non-negotiable.
- Portable Battery Charger: Your phone will drain in the cold. Bring a power bank.
- Walking Sticks: These help but aren't necessary. They do reduce strain on your knees on the descent.
- Snacks: Bring lightweight, high-calorie snacks. Energy bars, nuts, dried fruit.
The Timeline and Logistics
Start Time: Most people start at midnight to reach the summit around sunrise. This is iconic and worth doing.
Duration: Figure on 12 hours for most people to reach the top, 2-3 hours to descend (if you're fit, less if you're not). Total: 14-15 hours minimum.
Transportation: Book your shuttle through your hotel. Most charge around $10-15 and will pick you up at midnight and drop you at the trailhead. When you're done hiking, you can call a ride service from the police post at the summit.
Alternative: Some tour companies will handle everything for $125. If you're short on time or worried about getting lost, this is worth considering.
Safety Reality Check
Let me be real about something: People have died on this mountain. Not regularly, but it happens. Most deaths occur because people:
- Try to reach the actual summit peak without proper experience (it's dangerous and risky)
- Start unprepared or out of shape
- Don't bring proper equipment
- Take unnecessary risks
The main hiking trail is straightforward and safe if you respect the mountain. The summit peak beyond the police post? That's where people have fallen. Be smart about where you go.
Important Rules to Know
- Camping: NOT allowed at the summit. There's a police post there—respect it.
- The Summit Peak: This is beyond the police post. You can see both the Pacific and Atlantic oceans from there, but only go if you're an experienced mountaineer. The risk isn't worth it for most people.
- Path Navigation: The trail is basically a road and pretty straightforward if you follow it. You won't get lost if you stay on the main path.
- Early Starts: Yes, you can start at 1-2am. Just make sure your hotel/shuttle service knows.
Is It Worth Doing?
Honestly? Yes, if you're prepared. It's a challenging, rewarding experience. Watching the sunrise from the highest point in Panama is something you won't forget.
But—and this is a big but—only do it if you're actually in shape. Don't torture yourself. If hiking is new to you or you're significantly out of shape, either get fit first or consider a guided tour instead.
My Final Advice
Start training now if you're planning this. Stair climbers and cardio should be your daily routine for at least 4 weeks before your attempt. Pack light. Start early. Respect the mountain. And honestly? Don't try to reach the summit peak beyond the police post unless you're a serious climber.
Related Boquete Resources
- Boquete City Guide - Complete overview
- Transportation Services in Boquete
- Panama City Guide - Gateway to Boquete
- List Your Tour Service
Frequently Asked Questions
Do you need a permit to hike Volcán Barú?
How long does it take to hike Volcán Barú?
What should I bring for Volcán Barú hike?
How do I prepare physically for hiking Volcán Barú?

 From Seattle, United States
|
From Seattle, United States
|  Living in Boquete, Panama
 Seattle → Boquete. Coffee farms over coffee shops. Hikes over happy hours. Here to share what I've learned about sustainable expat living in Panama's highlands.
View Full ProfileFound this helpful?
Join the conversation. Share your own tips, experiences, or questions with the community.
Your blog could reach thousands too
More Blogs About Boquete
Camping at Volcán Barú Summit: Ultimate Gear & Preparation Guide
Volcán Barú camping: start 4AM, 8-10 hours up Boquete Route. Gear: 3-4L water, -10°C sleeping bag, waterproof tent, insulated jacket (summit reaches -10°C), stove.
Complete Boquete Guide: Eating, Hiking, and Adventures for Every Traveler
Boquete offers hiking (Volcan Baru, Los Quetzales), coffee tours, whitewater rafting, and dining from $4-6 (local comedores) to $10-20 (international). Cool highlands at 4,000-5,000 feet.
Perfect 3-Day Boquete Itinerary: Hiking, Coffee, and Adventure
Boquete 3 days: Day 1 Lost Waterfalls + coffee, Day 2 Pipeline Trail + zipline, Day 3 coffee tour + hot springs. Start early, trails close 5 PM. $10-15/activity.
You Might Also Like
What neighborhoods in Playa del Carmen are best for long-term renters?
I'm moving to PDC in a couple months and looking for a furnished apartment for 6-12 months. I work remotely so I need reliable internet. Budget is around $800-1200 USD/month. Which colonias should I focus on?
Q&ABest gyms in Condesa with month-to-month membership?
Q&AHow do utilities work in Playa del Carmen apartments?
Just signed a lease and the landlord said utilities aren't included. How do I set up electricity (CFE), water, and internet? Are there any gotchas with billing I should know about?
RecommendationPlaya Transport Service
I offer private shuttle service to and from Cancún Airport,reliable and comfort and inexpensive,call me +529841419144
RecommendationVida Saludable Playa
Hatha Yoga, Vinyasa Yoga, kundalini Yoga, Meditación, Yin yoga, Samba, Afrofusion y más... Clases regulares de Lunes a Sábado, Aportación a partir desde $ 80mx.
RecommendationPDC Fitness Club (Free Group Workout) – Playa del Carmen
If you're looking for a welcoming, no-pressure way to stay active in Playa del Carmen, PDC Fitness Club is a great choice. The club offers free group workouts at the Deportivo Stadium , making fitness accessible and social for everyone: locals and visitors alike. Run by Rob ,
Report an Issue
Help us improve our listings
Report Submitted
Thank you for helping us maintain quality listings. We'll review your report shortly.
Submission Failed
Something went wrong. Please try again.
Sign In Required
Please sign in to report an issue. This helps us follow up on your report if needed.