Camping at Volcán Barú Summit: Ultimate Gear & Preparation Guide
To camp at Volcán Barú summit, you must: (1) start 4AM from Boquete, (2) take Boquete Route (8-10 hours up, follows car road, more accessible than Volcano Route requiring guide/jungle hacking), (3) arrive summit 4-5PM with daylight to set up tent, (4) bring critical gear, 3-4L water per person (sip every 30 min), sleeping bag rated -10°C to 0°C, waterproof tent, insulated jacket/layers (summit reaches -10°C/14°F at night), camping stove for hot coffee/eggs/bread morning, headlamp with extra batteries, one set dry clothes. Pack light, after 6 hours, every pound feels like a ton. Medium-high fitness required: train with stair climbing, hill training, weighted pack walks. Keep group 3-6 experienced hikers, stop strategically every 2-3 hours (not constantly). Sunrise payoff: see both Pacific and Atlantic oceans from cross on clear days. Physical reality: Hours 1-4 optimistic, 5-7 legs hurt questioning life choices, 8-10 exhausted pushing through, night freezing even with gear, morning cold wake-up for sunrise, descent harder on knees (trekking poles help). Contact rescue services info before trip, research altitude sickness prevention (severe headache, nausea, difficulty breathing, descent is only treatment).
If you're planning to camp at the summit of Volcán Barú, you need to be seriously prepared. This isn't a casual day hike, it's an overnight mountain adventure that demands proper gear, physical fitness, and realistic expectations. Based on years of experience and conversations with hikers who've done this, here's everything you need to know.
The Reality: Two Routes, One Summit
There are two main ways up Volcán Barú:
- The Volcano Route: Requires hacking through jungle. You absolutely need a guide who knows the way. This is seriously difficult terrain.
- The Boquete Route: Follows the car road. Much more accessible. Takes 8-10 hours up, 6 hours down. This is the route most people take for camping.
For first-time campers, the Boquete route is your best option. It's clearer, more trafficked, and easier to follow.
Timeline: Start Early, Arrive with Daylight
Start Time: Begin around 4 AM from Boquete. This gives you enough time to arrive at the summit around 4-5 PM, with daylight to set up your tent.
Duration: 8-10 hours up (depending on fitness and group pace), 6 hours down the next day.
Why Early? You need to set up camp, organize your gear, and settle in before dark. Trust me, you don't want to be scrambling in the dark to pitch your tent.
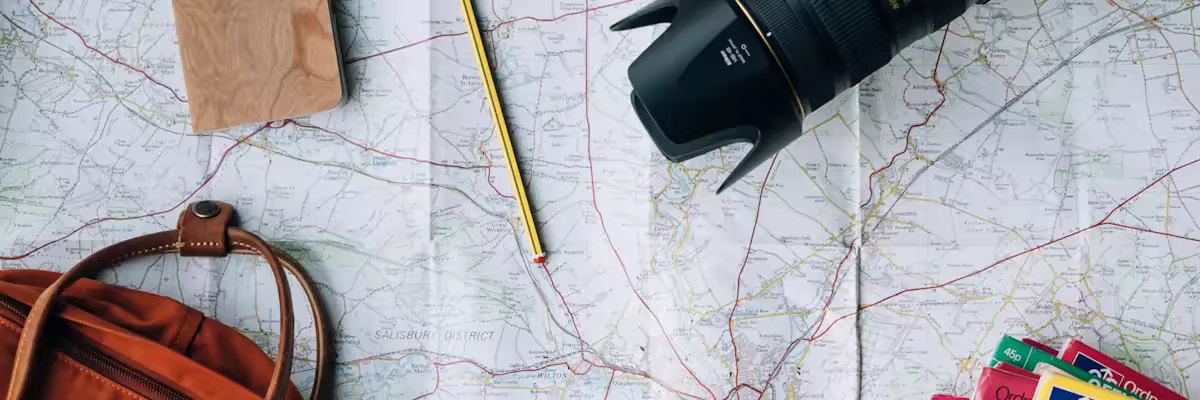
The Critical Gear List (Don't Skip This)
Water
Amount: 3-4 liters per person. Electrolyte-enhanced water is ideal.
How to Drink It: Sip every 30 minutes, not large amounts all at once. This prevents altitude sickness and keeps your energy consistent.
Weight and Packing
This is crucial: pack light, or you'll regret it. After 6 hours of walking, even a single pound feels like a ton. Every bit of extra weight compounds as you climb.
- Pack only essentials
- Use a lightweight backpack (40-50L max)
- Share group items if possible
- Leave behind anything non-essential
Warm Clothing
Temperature at the summit: Can reach -10°C (14°F), especially at night or in winter.
What to Bring:
- Insulated jacket (down or synthetic)
- Warm fleece or wool layers
- Thermal base layers
- Warm hat and gloves
- Warm socks (multiple pairs)
Don't overpack warm clothes thinking you'll need layers. Bring what you need, not everything you own.
Sleeping Bag
This is non-negotiable. Get a sleeping bag rated for sub-freezing temperatures (ideally -10°C to 0°C). Test it at home first.
Tent
Waterproof is mandatory. Rain at the summit is common. If your tent leaks, you're in for a miserable night. Make sure your tent:
- Has a good rain fly
- Is properly sealed
- Doesn't have any holes or tears
Food
Bring a camping stove. You want hot coffee, eggs, and bread in the morning. Light options include:
- Instant coffee and hot chocolate
- Eggs and bread
- Instant noodles or soup
- Energy bars
- Trail mix and dried fruit
- Electrolyte drinks
Dinner: Something filling but not too heavy. Chinese soup, instant noodles, or dehydrated meals work well.
Light and Navigation
Flashlight/Headlamp: Essential. The trail gets dark, and you need hands-free lighting. Bring:
- A good headlamp with extra batteries
- A backup flashlight
Clothing Changes
Bring one set of dry clothes. You'll likely get wet on the way up (rain is common). Having dry clothes for sleeping is crucial for staying warm.
Rescue Contact Information
Get the number for rescue services before you go. If someone gets seriously injured or altitude sick, you need to know who to call. Be aware that rescue services exist, but they cost money.
Health and Altitude Preparation
Altitude Sickness
Some people get seriously sick at high altitude. Research altitude sickness prevention before your trip. Symptoms include:
- Severe headache
- Nausea and vomiting
- Difficulty breathing
- Dizziness
If someone shows severe symptoms, descent is the only real treatment.
Physical Conditioning
You need medium to high fitness. The climb is relentless uphill for hours. Train beforehand with:
- Stair climbing (weighted if possible)
- Hill training
- Cardio workouts
- Long walks with a heavy pack
Group Strategy
Keep your group small but strong. A group of 3-6 experienced hikers is ideal. Here's why:
- Small: Easier to manage, fewer people to wait on
- Strong: Everyone should be fit enough to complete the climb without struggling
- Never leave anyone behind: If someone can't continue, the group helps or calls for assistance
Don't take large groups. You'll move slowly and people will get frustrated.
Pacing and Breaks
The fewer breaks, the faster you get there. Stop strategically for food and water every 2-3 hours, not constantly. Make these stops count:
- Eat something substantial
- Drink plenty of water
- Rest your legs
- Then continue
Constant short stops waste time and energy.
The Summit Experience
Sunrise
The main payoff for all this effort. Set your alarm for early morning to catch the sunrise from the summit. On clear days, you can see both the Pacific and Atlantic oceans from the cross at the very top.
Warning: The area around the cross is dangerous and exposed. Don't wander too close if you're not experienced with exposed terrain.
Fire and Wildlife
You can build a fire if regulations allow, but don't wander too far from your camp. There are pumas in the area, though attacks on humans are extremely rare. Stay alert, stay near your group.
Wildlife and Safety Concerns
Yes, there are animals. Pumas, jaguars, and other wildlife exist in the area. However, serious incidents with hikers are extremely rare. Be smart:
- Make noise while hiking
- Don't hike alone
- Don't leave food lying around camp
- Stay together as a group
What to Expect: The Honest Version
Here's what the actual experience feels like:
Hour 1-4: You feel good, the scenery is nice, you're optimistic.
Hour 5-7: Your legs hurt, you're tired, and you're wondering why you're doing this. Every step takes effort.
Hour 8-10: You're exhausted but pushing through. You can see the summit area, which helps psychologically.
Arrival: Exhaustion mixed with accomplishment. Set up your tent immediately. Rest.
Night: It's freezing. Even with all your gear, you might be cold. The temperature drop surprises most people.
Morning: Early wake-up for sunrise. It's worth it, but you're tired and cold. Hot coffee helps.
Descent: Your legs are destroyed. Downhill is actually harder on your knees than the climb. Trekking poles are very helpful.
Final Advice
This hike demands respect. It's physically demanding, conditions are harsh, and you need proper preparation. But if you do it right, it's an incredible experience that stays with you forever.
- Train beforehand. Don't show up out of shape.
- Test your gear at home. Don't discover problems at 3,000 meters.
- Pack light. Seriously. Every pound matters.
- Start early. Get to camp with daylight.
- Bring proper warm clothes. The cold is real.
- Stay with your group. Don't separate or wander.
- Have rescue contact information. Just in case.
- Embrace the difficulty. It's part of the experience.
Planning this for 2026? Start training now. Get your gear together. Find experienced hiking partners. And prepare yourself mentally for one of the toughest but most rewarding hikes in Panama.
Related Boquete Resources
Frequently Asked Questions
What gear do I need to camp at Volcán Barú summit?
How long does it take to hike to Volcán Barú summit?
What is the temperature at Volcán Barú summit?
Can I see both oceans from Volcán Barú summit?

 From Seattle, United States
|
From Seattle, United States
|  Living in Boquete, Panama
 Seattle → Boquete. Coffee farms over coffee shops. Hikes over happy hours. Here to share what I've learned about sustainable expat living in Panama's highlands.
View Full ProfileFound this helpful?
Join the conversation. Share your own tips, experiences, or questions with the community.
Your blog could reach thousands too
More Blogs About Boquete
Hiking Volcán Barú in Boquete: The Complete Practical Guide
Volcán Barú: 14-15hrs total (12hrs up, 2-3hrs down). Midnight start, no permit needed, $10-15 shuttle. 4+ weeks training essential: stair climbers, cardio. Pack light: 1-2L water, headlamp.
Complete Boquete Guide: Eating, Hiking, and Adventures for Every Traveler
Boquete offers hiking (Volcan Baru, Los Quetzales), coffee tours, whitewater rafting, and dining from $4-6 (local comedores) to $10-20 (international). Cool highlands at 4,000-5,000 feet.
Perfect 3-Day Boquete Itinerary: Hiking, Coffee, and Adventure
Boquete 3 days: Day 1 Lost Waterfalls + coffee, Day 2 Pipeline Trail + zipline, Day 3 coffee tour + hot springs. Start early, trails close 5 PM. $10-15/activity.
You Might Also Like
Is it better to rent furnished or unfurnished in PDC?
Planning to stay at least a year. Furnished places seem more expensive but buying furniture also adds up. What do most expats do?
Q&AWhat's the sargazzo situation like right now in Playa del Carmen?
like the topic, whats the sargazzo situation like right now in Playa?
Q&AWhat neighborhoods in Playa del Carmen are best for long-term renters?
I'm moving to PDC in a couple months and looking for a furnished apartment for 6-12 months. I work remotely so I need reliable internet. Budget is around $800-1200 USD/month. Which colonias should I focus on?
RecommendationPlaya Transport Service
I offer private shuttle service to and from Cancún Airport,reliable and comfort and inexpensive,call me +529841419144
RecommendationVida Saludable Playa
Hatha Yoga, Vinyasa Yoga, kundalini Yoga, Meditación, Yin yoga, Samba, Afrofusion y más... Clases regulares de Lunes a Sábado, Aportación a partir desde $ 80mx.
RecommendationPollo a la lena
A very nice roasted chicken place by ave 30 and calle 64. 180 pesos for a full chicken.
Report an Issue
Help us improve our listings
Report Submitted
Thank you for helping us maintain quality listings. We'll review your report shortly.
Submission Failed
Something went wrong. Please try again.
Sign In Required
Please sign in to report an issue. This helps us follow up on your report if needed.